Things You\’ll Need
-
Torpedo level
-
Ruler
-
Drywall saw
-
Screwdriver
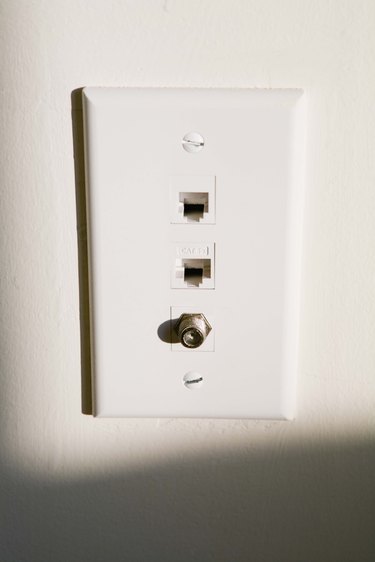 A 12-volt junction box provides support for the wall plate. Image Credit: Jupiterimages/Creatas/Getty Images
Enclosing your electrical connections in a junction box protects your home from a fire in the event the connection fails, and the electrical code requires a box at every 120- or 240-volt connection. Connections for wires carrying less than 30 volts don't have the same potential to create fires, however, so the main purpose of a 12-volt wall box is to support the cover plate. It isn't really a box at all, but a bracket that you anchor to the drywall. You can use it for phone, cable TV and speaker wires as well as for wires for 12-volt lighting fixtures.
Video of the Day
Step 1
Place the front of the bracket against the drywall at the installation location. Set a torpedo level on the top edge and adjust the box to center the bubble. Poke a pencil through the reference hole near each of the corners and make a mark on the wall. Remove the bracket.
Step 2
Draw lines between the marks to form a rectangle, using a ruler and a pencil. Double-check the level of the top and bottom lines. If they aren't level, the cover plate for the box will be askew.
Step 3
Cut around the rectangle, using a drywall saw. Remove the cutout.
Step 4
Fit the bracket into the hole and turn the screws in front clockwise, using a screwdriver. The mounting brackets will automatically align against the back of the drywall as you do this, and tightening the the screw will secure the bracket.
Tip
The bracket doesn't have a back, so you can run the wires through it after you've installed it. Like a conventional electrical box, it has holes at the top and bottom for the screws for the cover plate.
Warning
Use a stud finder to locate the studs before you outline the bracket on the wall. You can't install it in front of a stud.