Originating in France at the end of the Renaissance era, French doors can add a designer-savvy look to any room. They were originally used as massive windows that reached to the floor, opening onto small balconies. A French door typically consists of panes of glass separated by vertical and horizontal framing materials. You can transform an existing sliding glass door into a French door facade without the difficulty and expense of using separate panes of glass.
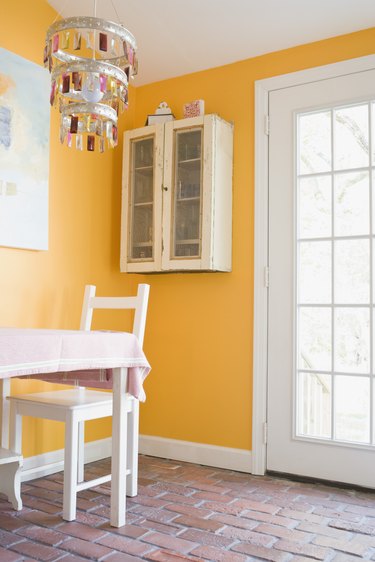 French doors add a designer flair to a room. Image Credit: Jupiterimages/Comstock/Getty Images
Video of the Day
Things You\’ll Need
-
Pencil
-
Paintbrushes
-
Painter'S Tape
-
Level
-
Balsa Strip Dowels (1/8 Inch Thick By 1/4 Inch Wide By 36 Inches Long)
-
Interior Latex Paint
-
Wood Cutting Block
-
Tape Measure
-
Plastic Drop Cloth
-
Utility Knife
-
Epoxy Glue
Step 1
Measure the horizontal and vertical lengths of each side of glass in your sliding glass doors. Using a window pane size of 9 inches tall by 12 inches wide as a standard, divide the width of the glass by 12 to determine the number of horizontal window panes. Divide the vertical length by 9 to determine the number of vertical window panes. Add any remainder equally among your predetermined window panes, slightly adjusting the size.
Step 2
Measure the width and length of the first row of window panes, starting at the bottom of the glass. Use a level to ensure even rows. Draw an outline for each window pane on the sliding glass doors using a soft pencil.
Step 3
Cover the floor with a plastic drop cloth.
Step 4
Paint the wooden dowels with a paintbrush in white, black or a coordinating trim color of paint. Use a semigloss paint finish for a shiny look. Allow the painted dowels to dry for 30 minutes and apply a second coat of paint, allowing another 30 minutes drying time. Apply a third coat of paint and allow 30 more minutes of drying.
Step 5
Cut the dowels into predetermined lengths with an utility knife, making clean cuts.
Step 6
Apply the glue to the 1/8 inch side of one of the shorter dowels and align it vertically on the glass along the pencil line that is the closest to the left side of the glass. Press the dowel onto the glass and tape securely with painter's tape. Work your way across the glass, applying each vertical dowel along the bottom row.
Step 7
Apply the glue to the 1/8 inch side of one of the longer dowels and align it horizontally on the glass over the pencil line that connects the vertical dowel that is the closest to the left side of the glass with the left edge of the glass. Press the dowel onto the glass and tape securely with painter's tape. Work your way across the glass applying each horizontal dowel, creating your first row of completed window panes.
Step 8
Create rows of window panes, following directions in Steps 6 and 7, until completing all of the window panes on both sides of the sliding glass door. Allow the glue to dry for 15 hours.
Step 9
Peel off the painter's tape carefully.
Step 10
Remove any glue smudges on the window with a sharp utility knife blade.
Tip
Make sure your window panes line up as even rows on both sides of your sliding glass door to ensure visual continuity. Use an epoxy glue that is recommended to bond wood and glass together.
Warning
Open a window or door before you begin to paint to provide air ventilation. Dowels are fragile and can break easily. Handle them carefully when painting and cutting.