 1 of 11
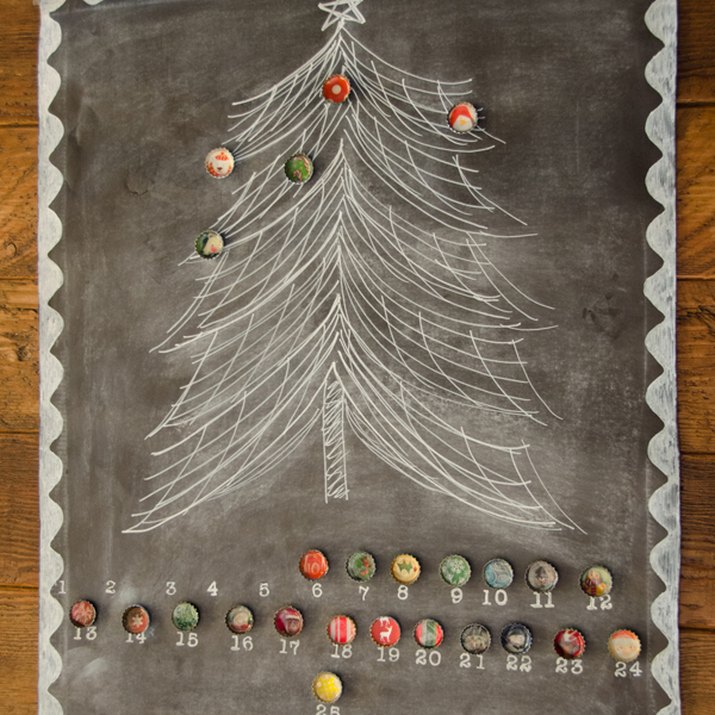
Overview
Made from simple and upcycled materials, this Advent calendar is inexpensive and easy to make. The kids can join in on the fun — with adult supervision — for a few of the steps. Then, as they count down to Christmas, the kids can move a magnetic ornament to the tree each day. Finally, on the 25th, they can put the star on the top of the tree.
Dave Johnson  2 of 11
Things You Need
To make this Advent calendar, you need small holiday themed images, a 1-inch circle punch or a pair of scissors, 25 bottle caps, clear glue, dimensional glaze such as Diamond Glaze or Mod Podge Dimensional Magic, magnets, chalk or bistro markers and chalkboard paper or cardstock and chalkboard paint. You also need a piece of sheet metal if you want the calendar to go on a wall. Or, you can simply tape it to the refrigerator.
Dave Johnson  3 of 11
Cut Paper Circles
Search through old magazines, Christmas cards, wrapping paper and scrapbook paper for small colorful images, including one bright star. Punch 25 1-inch circles with a circle punch or draw circles and cut with scissors.
Dave Johnson 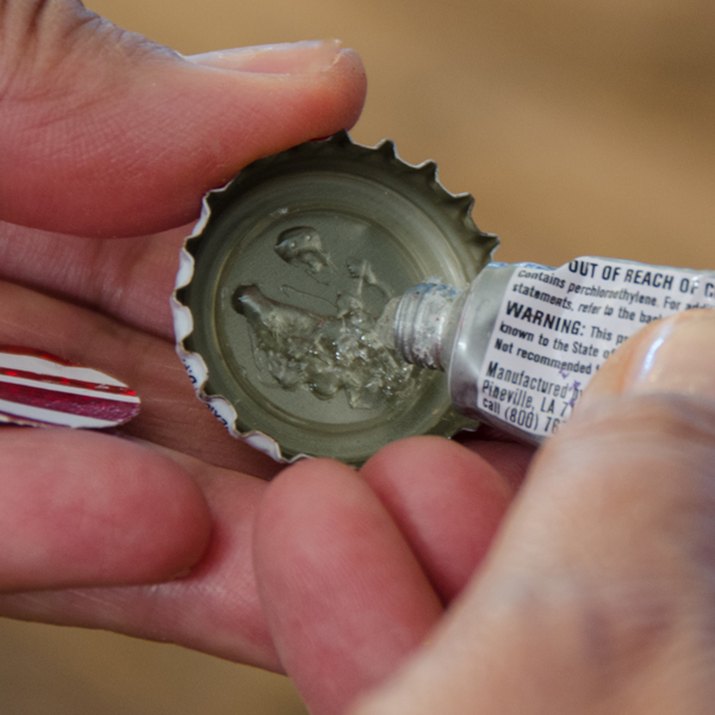 4 of 11
Glue Images into Bottle Caps
Put a dab of clear adhesive in the center and around the edges of a bottle cap. Set an image in place and press to secure it to the glue. Repeat with remaining images and bottle caps. Set aside to dry.
Dave Johnson 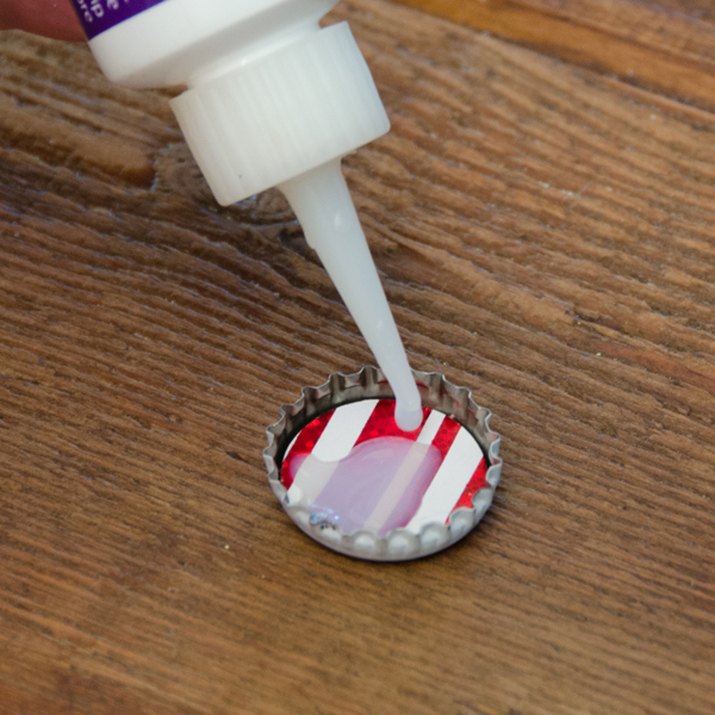 5 of 11
Add the Glaze
Drip glaze into each bottle cap. Work slowly and do not shake the bottle. If bubbles appear, prick them with a straight pin. Set aside to cure overnight.
Dave Johnson 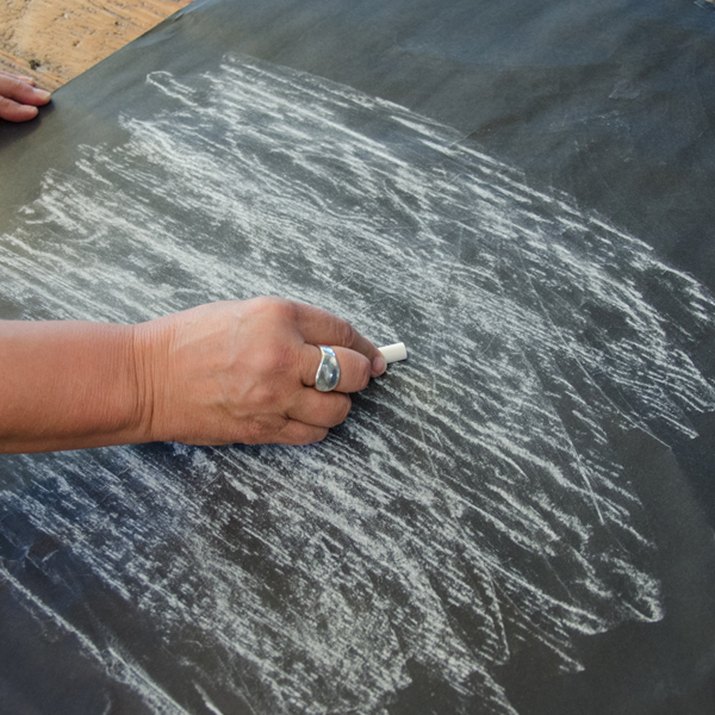 6 of 11
Prime the Chalkboard Paper
Cut a piece of chalkboard paper sized to cover your piece of sheet metal or the front of the refrigerator. Using the broad side of a piece of chalk, cover the paper with chalk. Erase the chalk with a rag or paper towel.
Dave Johnson 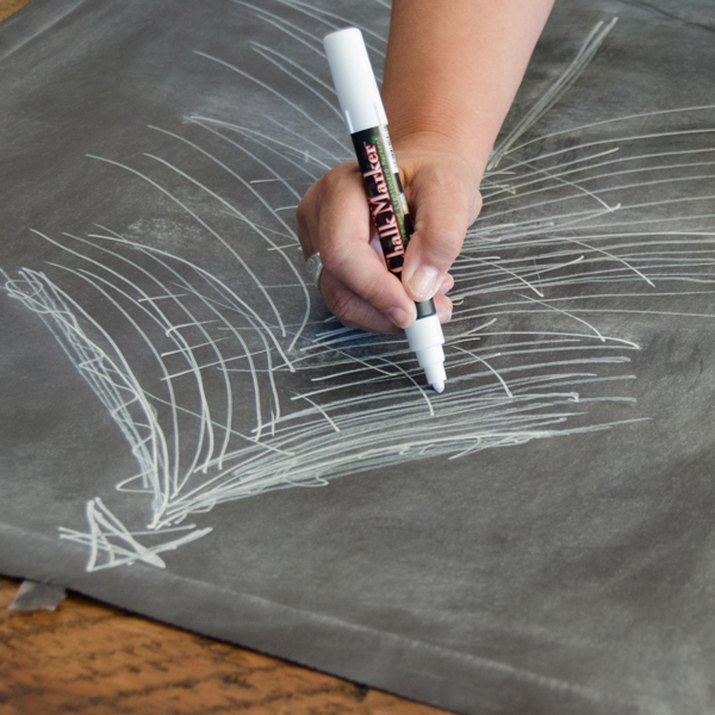 7 of 11
Draw the Tree
Make a tiny mark at the center of the paper. Starting at the center and about 3 inches down from the top of the paper, use a bistro marker to draw a series of swooping lines, each slightly longer than the previous one. Repeat in the opposite direction. Add cross hatching and a star at the top of the tree.
Dave Johnson 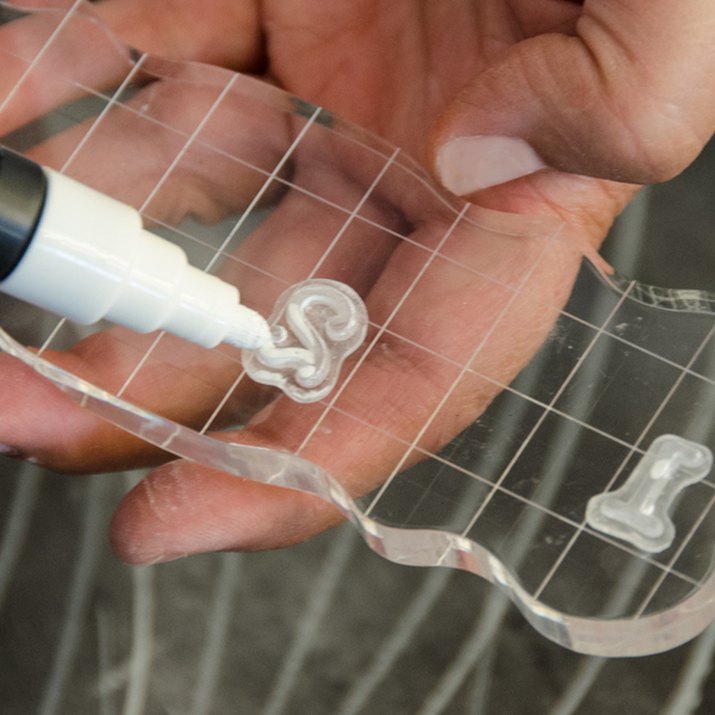 8 of 11
Add the Numbers
At the bottom of the page, write numbers 1 through 25. If you're not confident in your penmanship, use a bistro marker to color on acrylic stamps and then stamp the numbers on the calendar. Lay out a row of bottle caps to make sure the spacing works before committing to it.
Dave Johnson 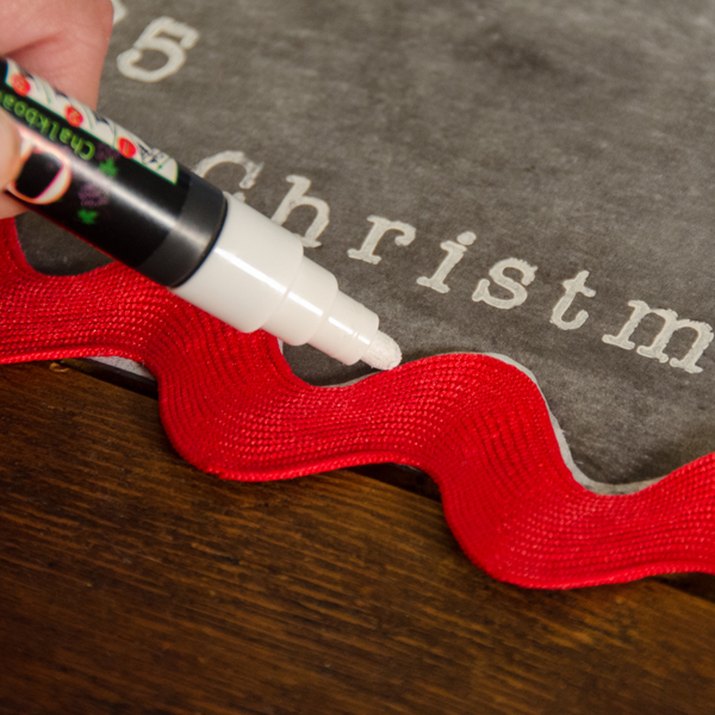 9 of 11
Decorate the Edges
This step is completely optional, but it does enhance the overall design. You can draw a freehand design around the edges of the calendar, or trace around large ric rack and then color it in.
Dave Johnson 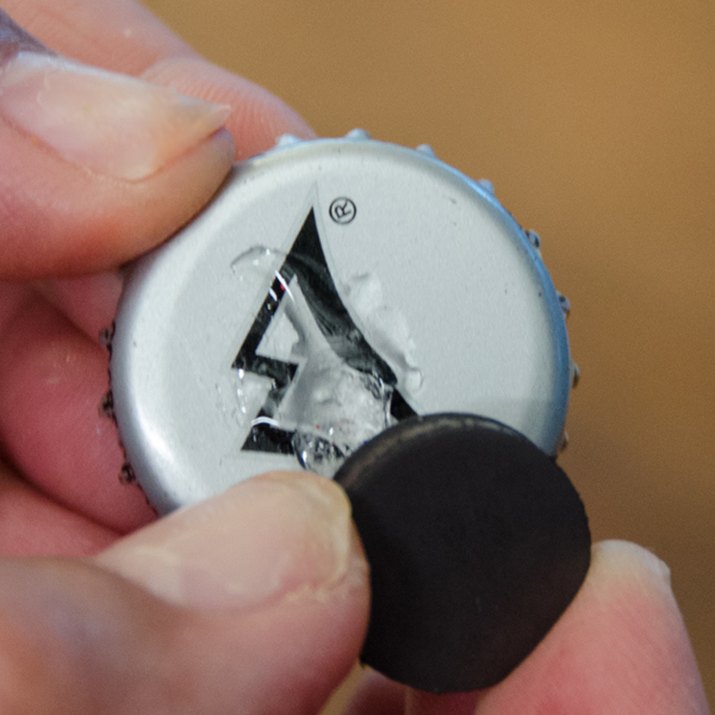 10 of 11
Glue On the Magnets
Put a dab of clear adhesive on the back of a bottle cap and press a magnet in place. Repeat with remaining bottle caps. Set aside to dry.
Dave Johnson 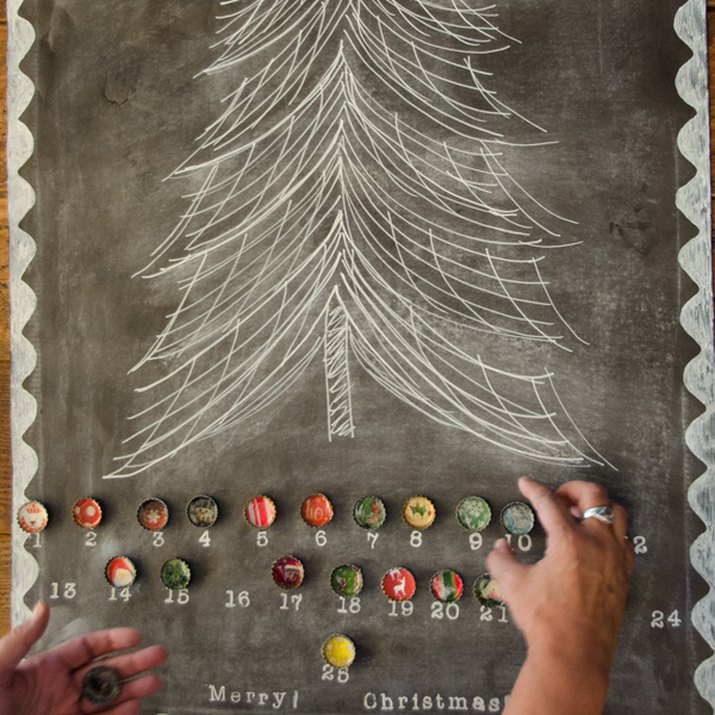 11 of 11
Display the Calendar
Tape the paper to the sheet metal or the refrigerator, and set a magnet above each number. Move one ornament to the tree each day, ending with the star on the top of the tree on the 25th.
Dave Johnson