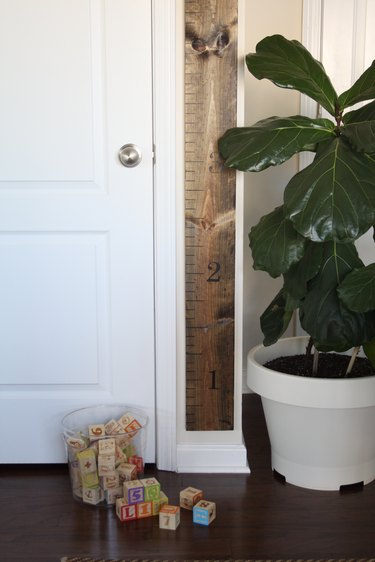
A measuring stick growth chart is easy and inexpensive to create and will be something that you'll cherish for years to come. A lot of parents like to keep track of their child's height by making marks on the wall over the years as they grow. However, it's bittersweet when you have to move or want to refresh the walls with new paint. With this simple measuring stick growth chart, you can keep track of special milestones and display it in your home for as long as you wish.
Video of the Day
Things You\’ll Need
-
Wood board (1" x 5.5" x 72")
-
Fine grit sanding block
-
Gloves
-
Stain (color of your choice)
-
2 foam paint brushes
-
Lint-free rag (an old T-shirt works well)
-
1" painter's tape
-
Black paint (any finish will work)
-
Small paint brush
-
Number stencils (numbers 1 – 6), approximately 2.5" tall
-
Spray adhesive (optional)
-
Hanging hardware
-
Phillips head screwdriver
-
Wall hooks
-
Hammer
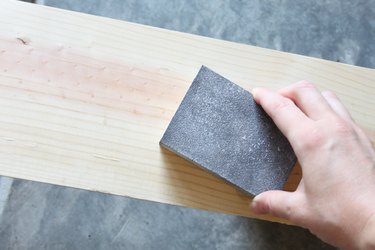
Step 1:
Sand the wood board down with a sanding block, making sure to get rid of any splinters or rough spots.
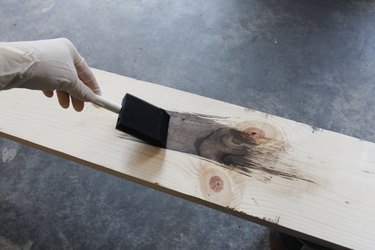
Step 2:
Put on gloves to keep the stain from getting on your hands. Then, apply the stain as evenly as possible with a foam brush. It is best to work in small sections and slightly overlap the stain as you go to prevent harsh lines where you stop and start.
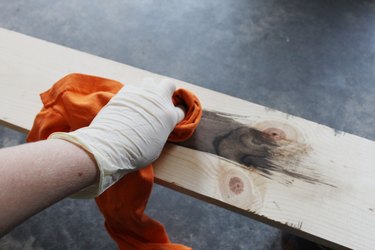
Step 3:
Wipe off the excess stain with a rag. If you want a darker finish, go over the board again with more stain after the first coat is dry.
Step 4:
Allow the stain to dry overnight and then apply small strips of painter's tape, at least 2 inches long, in rows along the whole length of the board. Leave a small gap in-between each piece of tape. No need to measure since the tape will provide you with 1 – inch increments.
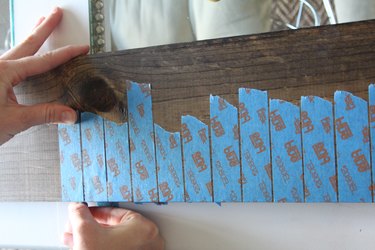
Step 5:
Starting on the left side of the board, measure 2 inches in and make a mark on the tape with a pencil. Do this about every 5 inches. Once you have made all your marks, place a piece of painter's tape at the 2 inch marks, perpendicular to the other pieces of tape. Allow the tape to run the full length of the board. Then, layer another piece of tape adjacent to that piece, covering two notches at a time and leaving one open. This will give you a pattern of one long mark and two shorter marks.

Step 6:
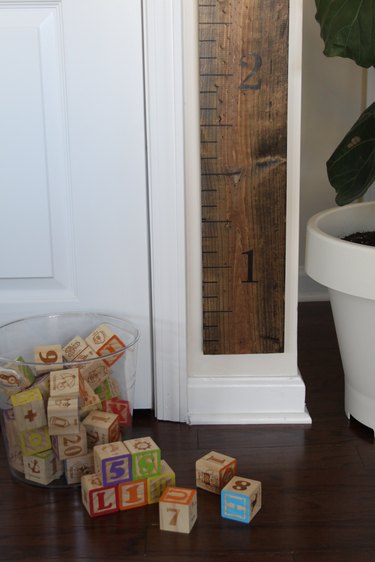
Press down firmly on all the taped off areas. This will help prevent the paint from bleeding under the tape. Use a small paint brush to paint the notches black. After the first coat dries, go back over it with a second coat of paint to ensure complete coverage. While the paint is still wet, pull off all the painters tape.

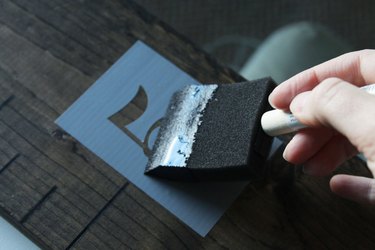
Step 7:
Start stenciling the numbers. Begin with number one and work your way up to the top. Count six notches from the bottom and place your number one at the sixth notch. Press the stencil down firmly and apply black paint with a foam brush. Be careful not to push paint under the edges of the stencil. Work your way up to the top, placing a number at every 12th notch. You will have room for numbers 1 through 6. Allow the paint to thoroughly dry.
Tip
If you are concerned about the edges bleeding through, you can apply spray adhesive to the back of the stencil and then put in place before brushing on the paint. This will create a nice seal around the edges and give you a crisp, clean look.
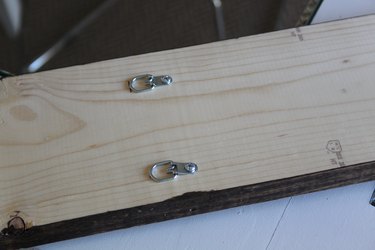
Step 8:
Attach hanging hardware to the back of the board. Measure 66 inches from the base of the board and screw the hardware in place. Leave a distance of 3 inches between the two pieces of hardware.
Step 9:
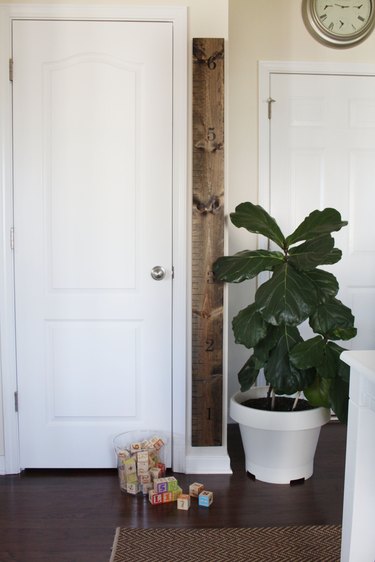
Hang the hooks on the wall. Measure 72 inches from the floor and make a mark on the wall. Move over 3 inches and measure 72 inches from the floor again. Make another mark on the wall at this point. This will be where your two wall hooks will go. This will allow the board to hang 6 inches from the floor and should make the ruler measurements accurate.

Step 10:
Hang the board on the wall.