Things You\’ll Need
-
Spawn
-
Hardwood sawdust
-
Wheat bran
-
Lime
-
Sucrose
-
Plastic bags
-
Bleach
-
Hydrogen peroxide (optional)
-
Mixing container
-
Spoon
-
Knife
-
Hardwood log 4 to 8 inches in diameter
-
Wooden plugs with maitake spawn
-
Electric drill
-
5/16-inch drill bit
-
Hammer
-
Beeswax
-
Double boiler
-
Turkey baster
-
Water
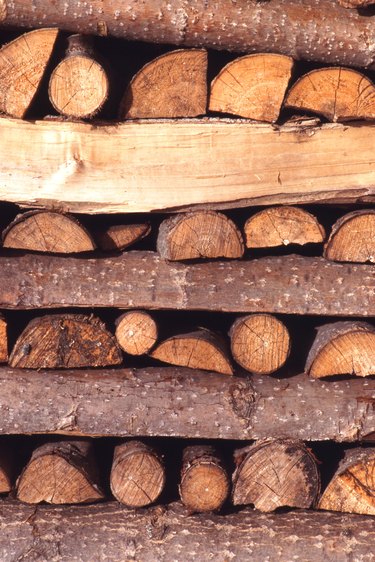 Hardwood logs are used to culture sheepshead mushrooms.
Wooly-looking mushrooms growing at the bases of oak trees are known in the eastern United States as sheepshead mushrooms. In Japan they are called maitake. Prized for their edibility and reputed medicinal qualities, maitake demand has outgrown the natural supply. A whole industry has arisen around culturing the mushrooms, especially in Japan and China, where synthetic logs are inoculated with fungal spawn. Isolation of fruitful spawn is difficult, and special knowledge is needed about the growth cycle of the fungus to grow it. Perhaps the most reliable and least expensive way to grow sheepshead at home is to purchase a kit. Otherwise, purchase spawn and prepare your own growth medium.
Video of the Day
Culture on Growing Media
Step 1
Purchase reliable spawn. For home growers, this is usually a sawdust-based product inoculated with the fungus.
Step 2
Prepare a growing medium combining fine and coarse hardwood sawdust, coarse wheat bran, lime and sucrose in proportions of 75 percent, 23 percent, 1 percent and 1 percent, respectively.
Step 3
Sterilize a growing container such as a plastic bag, unless you're using purchased polypropylene bags meant for fungus culture. Use bleach in sickroom concentration or hydrogen peroxide.
Step 4
Introduce the spawn into the growing medium and mix well, using a sterile container and mixing spoon. Place the mixture into the prepared growing container. Seal the container.
Step 5
Store the sealed bag for four to five weeks at 70 to 75 degrees Fahrenheit and high relative humidity and darkness for the spawn run stage. Store the sealed bag for four to six weeks with intermittent light after that. Transfer the bag to an area with temperatures of 50 to 60 degrees and indirect light that is about 1/3 that of sunlight. Open the bag or slit openings in the side with a sharp sterile knife so fruiting bodies can form. Harvest the mushrooms after about a three-week growing period.
Growth on Natural Logs
Step 1
Locate a hardwood log of oak or maple or cut down a small oak or maple tree 4 to 8 inches in diameter and remove its branches. Cut it into 3-foot to 4-foot lengths.
Step 2
Purchase wooden plugs inoculated with maitake spawn. Use about 48 plugs per log.
Step 3
Drill 5/16-inch holes using an electric drill and drill bit. Space the holes 6 to 8 inches apart in a staggered manner. Make the holes 1/4 inch deeper than the length of the wooden plugs.
Step 4
Hammer the plugs into the drilled holes so they are 1/4 inch below the log surface. Melt beeswax in a double boiler, and use a clean turkey baster to surround each plug with melted wax, which prevents contamination by other fungi.
Step 5
Place the log in shade, and water it several times a week. Wait for 9 months or longer for the fungi to make harvestable mushrooms.
Tip
Sterile technique is important for success. Many naturally occurring fungi can invade the growing medium and take over. The correct temperature, humidity and light are essential for maitake culture. Even experienced growers can have problems with maitake. Join a local or online mushroom-growing club or group for support and information.
Warning
Don't use pine, fir or cedar logs for maitake culture. Hot wax can cause serious burns.