Things You\’ll Need
-
Heavy paper
-
Pencil
-
Scissors
-
Clear tape
-
Ribbon
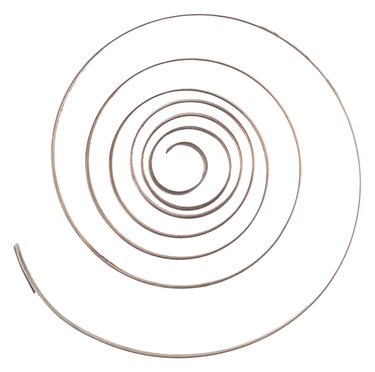 Draw a simple spiral to create a paper swirl.
Create quick ceiling decorations for seasonal or party decorations using paper and a sharp craft knife. This low-cost craft makes any room look festive. Use paper in colors that match the event, season or the room's existing decor. The swirls are decorative on their own, or you can dress them up by combining them with paper garlands or bunting. Even young children can make attractive paper swirls with only minimal adult supervision.
Video of the Day
Step 1
Lay a sheet of heavyweight decorative paper on your work surface. Scrapbooking card stock or colored poster board works well.
Step 2
Draw a spiral on the surface of the paper with a pencil. Start on the outside of the circle and work inward, keeping each line of the spiral evenly spaced from the lines on either side of it as you make each successively smaller circle.
Step 3
Make the final spiral the same diameter as the desired finished size of the bottom tier of the paper swirl.
Step 4
Cut out the spiral with scissors along the outermost line so you have a circular piece of paper with the spiral drawn inside of it. Then cut along the drawn spiral line all the way to the center.
Step 5
Tape the center of the swirl to the ribbon using clear tape. The spiral separates along the cuts, making a swirl that hangs down from the ceiling.
Tip
Decorate plain paper with paint or glitter before cutting to make a spiral in your color and design preference.
If you don't have scissors, lay the paper spiral on top of a cutting mat and cut along the drawn spiral line with a craft knife, following all the way to the center.